
Hi creative souls! If you're feeling like your home could use a few handmade touches to get it into springtime-mode, this one is for you!

What you'll need:
- Gold ring
- Yarn (any color you like!)
- Dried flowers (any colors you like!)
- Hot glue gun
- Silicon finger protectors (optional but a good idea)
- Scissors
Step 1: KNOT TO BEGIN
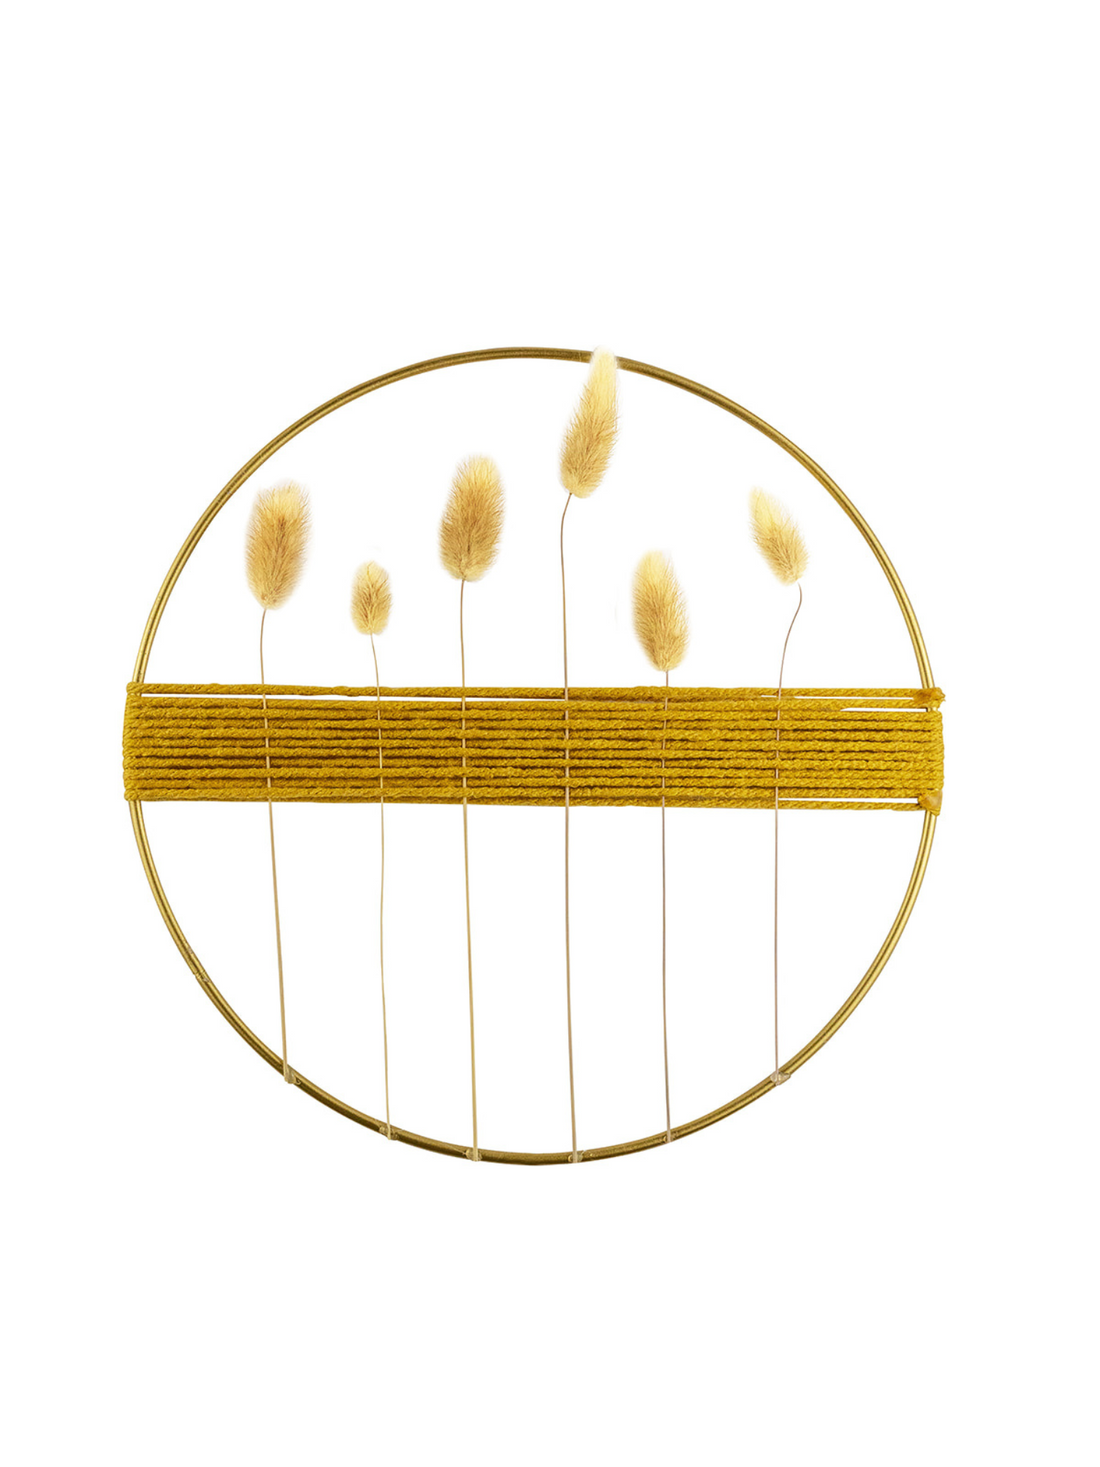
First, tie a knot with your yarn on one side of your gold ring (photo #1). Look at an analog clock for reference, and then tie the knot at the 48 minute mark - or, a few inches above the middle of the circle. It's best to start wrapping above the middle so that, when you're finished, you can have an equal amount of space above and below the yarn (as shown in photo #5).

Step 2: WRAP YARN AROUND GOLD RING
- Once your knot is secured, begin to wrap your yarn around your gold ring. Wear your finger protectors to protect against burning yourself on the hot glue. From the knotted end, pull the yarn in a straight line to the opposite side so that the yarn is taut. Make sure you have a straight line across the middle of the gold ring (photo #3). On this first wrap, dab a small amount of hot glue on the outer edge of the gold ring to hold the yarn into place (photo #2) - otherwise, the yarn will slide down the gold ring.

- From here on, dab a very small amount of hot glue on the gold ring every other time you wrap your yarn around (photo #4). You don’t need glue on every wrap, but glue on every other wrap will help keep the yarn from sliding down the ring. Keep wrapping until you have a relatively even amount of "blank" space (space without yarn) at the top and bottom of the ring (as shown in photo #5).


Step 3: WEAVE IN DRIED FLOWERS
Decide which side you like best, and we'll call your favorite side the “top” and the least favorite side the “bottom.” Lay out your dried flowers on the bottom before threading so you can decide on your design. Then, begin threading your flower stems through the bottom side (photo #6). Use care to weave the stems through only the bottom layer of yarn (you don't want stems peeking out the front).


Step 4: CUT STEMS & GLUE
Lastly, carefully use your craft scissors to cut your stems to the desired length and use another extra tiny dab of hot glue to adhere the stems to the gold ring (photo #8).


Step 5: ADMIRE YOUR WORK
Once complete, step back and admire your work. Remember, it's all about enjoying the creative process. Don’t criticize your work: it's perfectly imperfect. Love it, cherish it, or at the very least, gift it to a family member. Lastly, help inspire others to create: take a picture, upload to Instagram/TikTok/Pinterest and use the hashtag #papercloudsescape.
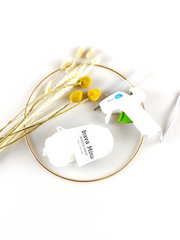
Additional color inspo below:

If you'd like to watch a video tutorial: